An Expert Guide to Immersive Real Estate Photography
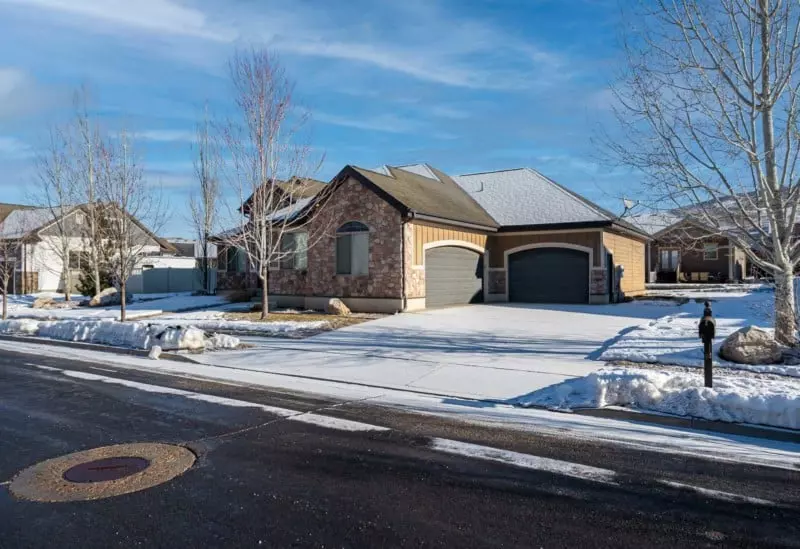
Have you ever wondered how professionals capture those jaw-dropping real estate photos that make properties look truly irresistible? In this comprehensive guide, I'll walk you through the process of shooting stunning real estate images using high dynamic range (HDR) and flash techniques. Get ready to take your real estate photography skills to the next level!
Ethical Considerations in Real Estate Photography
Shooting real estate is a unique process that requires a different mindset and approach compared to other types of photography. While we aim to present properties in their best light, we must also adhere to ethical guidelines. Just like photojournalists, we must accurately represent the property without misrepresentation or alterations. However, we can make visual enhancements that improve the overall appeal of the property. It's important to find your own ethical boundaries and ensure that changes made to the image do not alter the property structurally.
Shoot Exteriors and Do a Walkthrough
To start the real estate photography process, it's crucial to familiarize yourself with the property. Take a walkthrough to understand the flow of the house and plan how you want to present each room. Pay close attention to the lighting in each room, noting areas where additional lighting may be needed. Avoid shooting angles that capture harsh lighting environments and be cautious of rooms with mixed lighting sources.
Before moving to the interiors, capture the exteriors of the property. Capture a few angles at varying focal lengths for the front and back of the house. If you have a drone, don't hesitate to use it for unique aerial shots.
Gear and Settings in Real Estate Photography
Using a modern DSLR camera, preferably with a wide-angle lens, is ideal for real estate photography. Shoot in RAW format to have more flexibility in post-processing. Set your camera to Auto White Balance (AWB) to allow the camera to determine the best color temperature. Keep the ISO moderate, considering the low-light conditions typically found in interiors. Aim for an aperture between f/7.1 and f/11 to maintain depth of field while accounting for darker spaces. Tripods are essential for stability, especially when shooting with longer exposures.
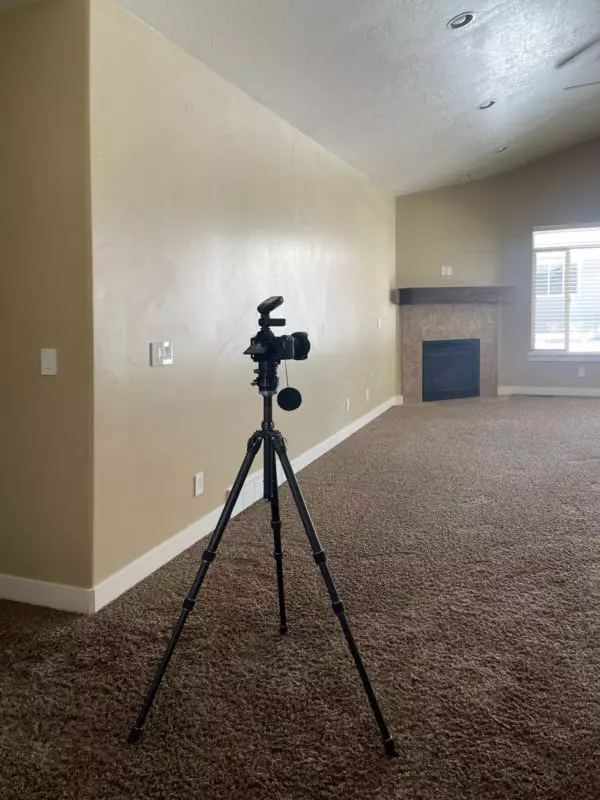
Setting Up for an Interior Real Estate Photo
When setting up for an interior shot, choose a position that provides an interesting perspective of the room. Avoid shooting from the corners of the room, as this can become repetitive. Instead, consider what unique features and angles can make the composition more engaging. Ensure that the camera is level and straight to avoid distortion.
Bracket Your Exposure for HDR
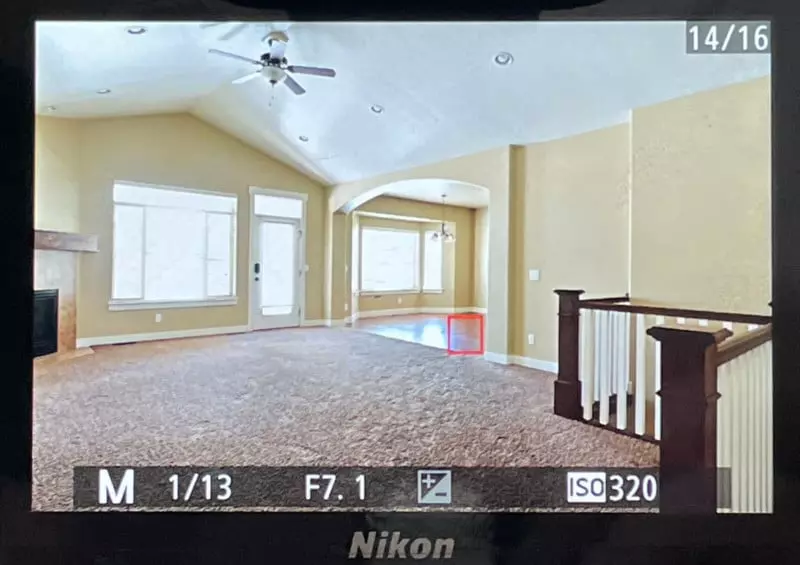
To achieve HDR (High Dynamic Range) images, bracket your exposures by capturing multiple shots at different exposures. This technique allows you to capture details in both the highlights and shadows of the scene. Set up your camera for exposure bracketing, which automates the process of shooting a series of exposures. Typically, three frames, two stops apart, are sufficient for real estate photography, but feel free to experiment and find the method that works best for you.
Developing the HDR Photos
Import your images into Lightroom and look for the groups of three exposures you captured. Make any necessary adjustments to the main image and then copy those adjustments to the under and overexposed images. Select all three images, right-click, and choose "Photo Merge" and then "HDR" to merge them into a single HDR image. Enable Auto Align and Auto Settings options to enhance the image automatically. After a few seconds, you'll have a merged HDR image that can be further refined to achieve the desired look.
HDR Photography Pairs Nicely with Flash
While HDR photography can produce stunning results, it's essential to understand how to deal with lighting challenges presented by different spaces. Before diving into flash photography, it's crucial to master natural light photography and learn to overcome its limitations. Becoming proficient in natural light photography will serve as a solid foundation for incorporating flash techniques into your workflow.
Adding Flash to an HDR Real Estate Photo
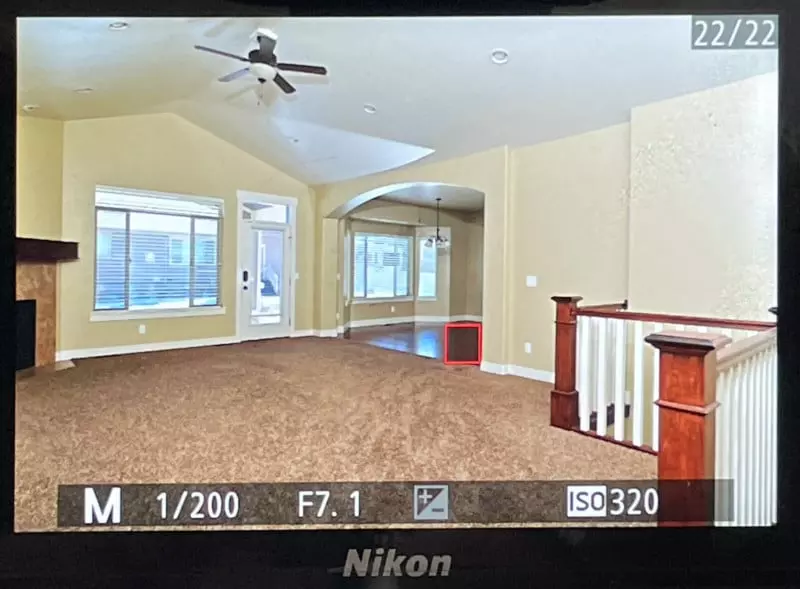
To add depth and enhance the lighting in your real estate photos, consider incorporating flash into your workflow. By strategically placing and diffusing flash units, you can fill in shadows and create a more visually appealing image. Experiment with the positioning and intensity of the flash to achieve balanced lighting across the scene. Test shots will help you fine-tune the arrangement of your lighting setup.
Combining HDR and Flash in Post-Processing
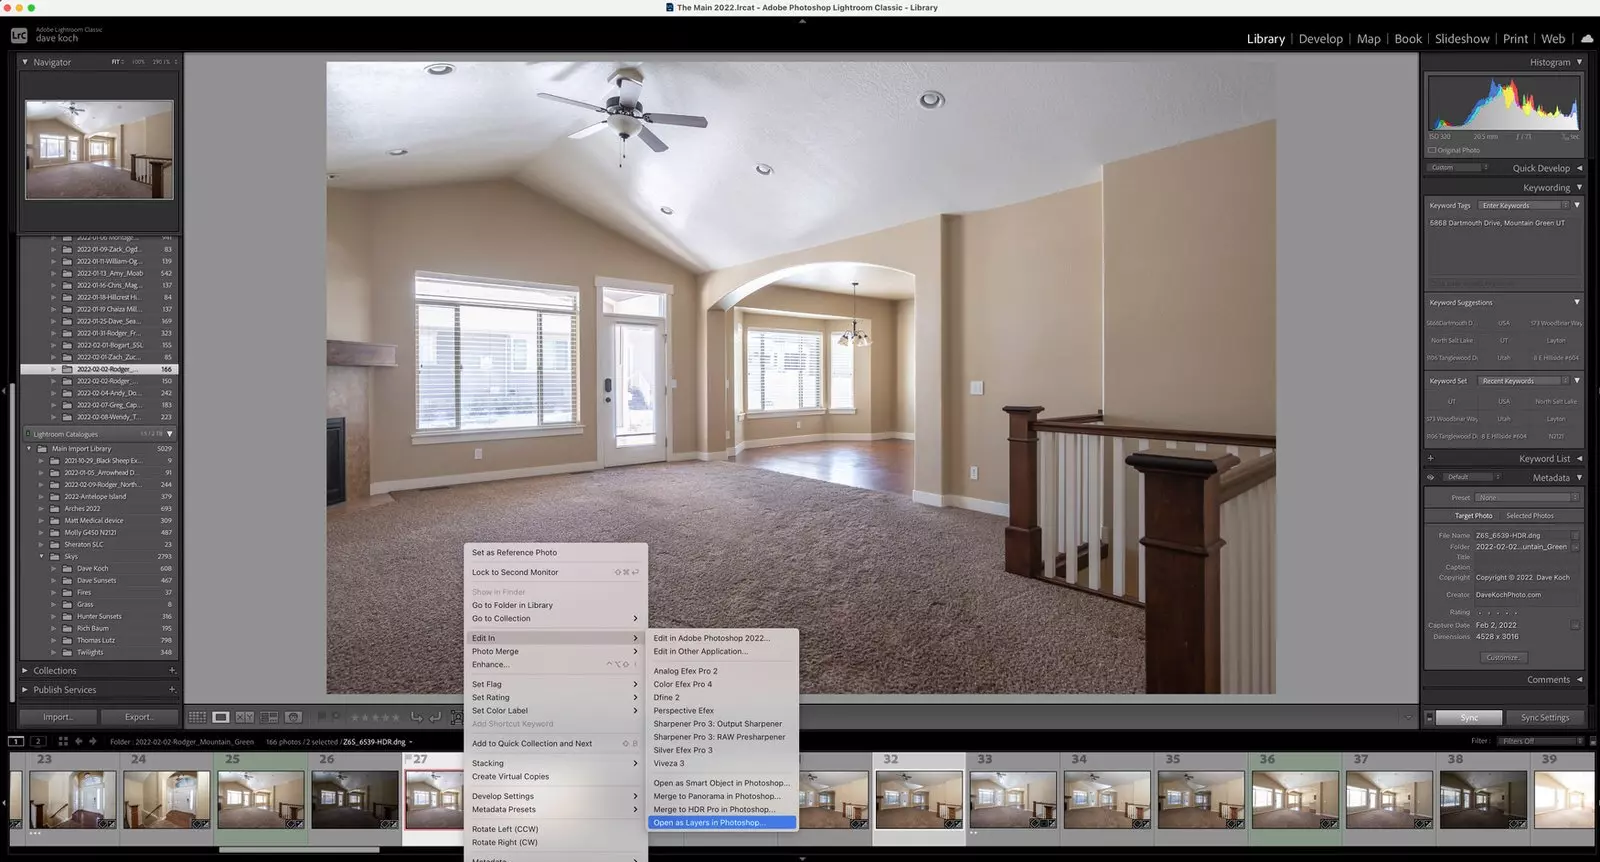
After capturing the ambient and flash images, it's time to bring them together during the post-processing stage. Import both images into Photoshop as layers and align them to ensure there is no camera shake. Apply a black mask to the ambient layer and use a low-flow brush to paint white on the mask, revealing the desired areas from the flash layer. Blend the flash and ambient layers, focusing on achieving even lighting and natural colors throughout the image.
Conclusion
Mastering the art of real estate photography requires a combination of technical skills, creativity, and experience. By incorporating HDR and flash techniques into your workflow, you can capture stunning images that showcase the true beauty of properties. Remember to always consider the ethical guidelines, shoot a wide range of angles, experiment with different lighting setups, and fine-tune your post-processing skills. With practice and dedication, you'll be able to produce exceptional real estate photos that leave a lasting impression.
About the author: Dave Koch is an award-winning real estate and commercial photographer with over a decade of experience in the field. His expertise and passion for photography have allowed him to create stunning visuals for clients. To view more of his work, visit his website, Facebook, and Instagram pages.
Image credits: All photographs by Dave Koch.


