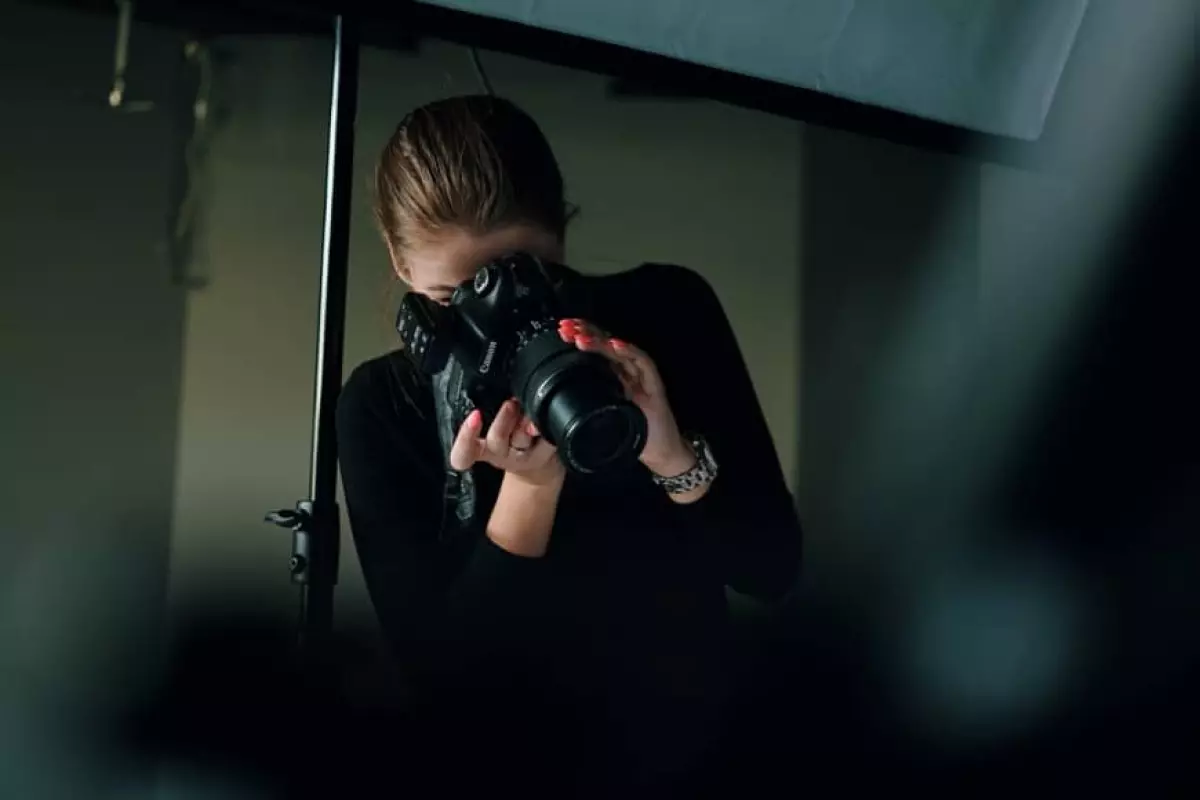
A home photography studio doesn't have to be an extravagant space. You can easily set up a studio in a spare room or even just a corner of your living room. If you don't have the budget for renting a studio, this guide is perfect for you. We'll show you how to create a home photography studio that is both affordable and practical. Whether you're a professional or an enthusiast, we have tips and tricks that will help you optimize your existing space and provide budget-friendly options for lighting kits. So let's dive in and take a look!
What Equipment Do You Need?
 One of the most common questions people ask is how much it costs to set up a photography studio. The answer depends on the available space and the type of photography you want to pursue. For those starting from scratch, the cost will be higher. However, if you already have a camera and some lenses, you can set up a home studio on a more modest budget.
Here's a shopping list of the main equipment you'll need for a home photography studio and the approximate cost:
Camera Gear
- Camera: An interchangeable lens DSLR or mirrorless body with manual controls for shutter speed, ISO, and exposure compensation.
- Lens: A zoom lens with a range of 24-70mm for general purpose photography, and later you can expand with an 85mm prime for portraits and product photography.
The cost of camera gear can vary. An enthusiast could expect to pay between $1500 and $3000 (USD) for a camera and a wide aperture 24-70 lens. A professional kit would be between $5000 and $8000 for the same pro-level combo.
Studio Gear
- Backdrop: Whether it's a small pop-up version or a larger roll, you'll need a backdrop to provide a clean and neutral background for portraits or body shots.
- Lighting: A Speedlight that fires via a remote trigger. You may need multiple lighting options depending on the type of photography you do.
- Light Stand: Height-adjustable light stands to control the direction of multiple lights.
- Light Modifier: Softboxes, beauty dishes, and umbrellas to modify the strength and appearance of light.
- Computer and Software: A computer powerful enough to handle RAW image files and editing software like Adobe Lightroom and Photoshop.
- Storage: External storage drive or cloud storage for your images.
- Power Supply: A powerboard with enough outlets and USB ports to power and charge all your gear.
For studio gear, an enthusiast could keep costs low with a lot of DIY hacks. A single Speedlight, remote trigger, softbox, and stand could cost around $300-$500. At a professional level, the cost of lights, backgrounds, and additional equipment could exceed $2000 to $5000 for a multi-strobe kit.
8 Tips for Setting Up Your DIY Home Photography Studio
1. Decide on Your Studio Layout
 Before setting up your home photography studio, consider the available space. You can make the most of what you have, whether it's a corner of your living room or a spare bedroom.
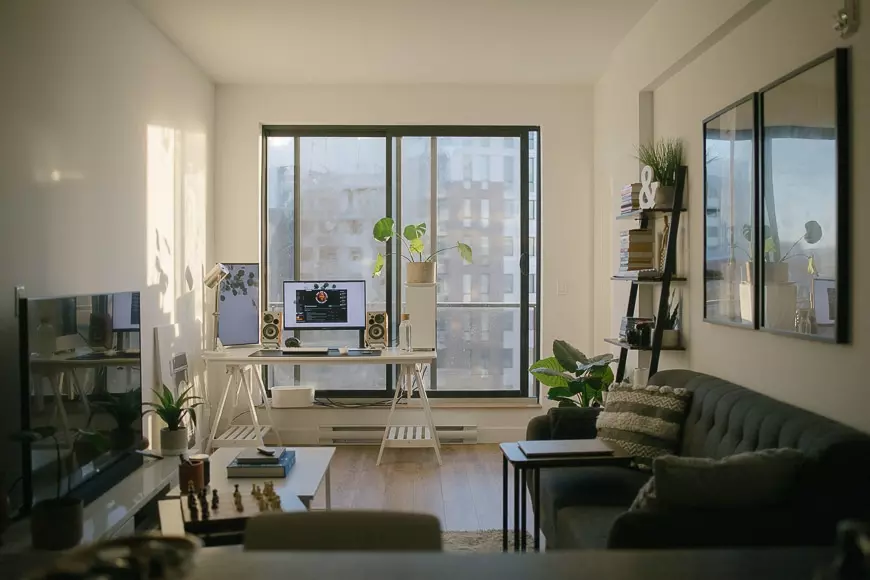
If you have limited space, such as one end of the living room, you can still create a versatile studio location. You don't need a massive amount of floor space for portrait, product, or still-life photography. As long as you have a way to hang a backdrop or a work surface, you can make it work. Utilizing natural light from a window can also save you the expense of additional lighting equipment.
If you have access to a larger space like a spare bedroom or garage, you can expand your portfolio and take on bigger projects. Just keep in mind that larger spaces require more lighting and potentially larger backdrops.
2. Optimize Your Workspace
 A home photography studio needs a dedicated workspace. Consider a desk or work surface where you can comfortably edit photos on your computer. You have the option to buy a simple computer desk or create a DIY workstation that suits your needs and style of work.
If space is limited, a stand-up workbench on castors (small multidirectional wheels) can be a practical solution. This way, you can move it out of the way when needed. Having your workstation next to a window can also provide natural light for fiddly tasks like cleaning lenses.
Don't forget to create storage under your work surface for your gear. Shelves or DIY self-assemble options from a hardware store can help keep your equipment organized.
3. Decorate for Comfort
 If you plan to have clients visit your home photography studio, consider decorating it in a way that makes a good impression. Print, frame, and hang your best works around the house, or at least near your workspace. Create a neat and clean business-like atmosphere that is welcoming to your clients.
Make sure the studio space feels comfortable and inviting. Don't forget climate control and comfortable furniture. Having a private area for models to change is important for portrait or fashion photography.
4. Invest in Studio Lighting
 Studio lighting is key to achieving professional-looking photos. If you don't already have a lighting kit, it's worth investing in one. A single on-camera flash unit or constant LED light source is a good starting point for those on a budget. For more advanced lighting setups, consider off-camera Speedlights or strobe lights.
Regardless of the lighting setup you choose, make sure to use light modifiers such as softboxes, beauty dishes, or umbrellas. These modifiers help control the direction, shape, and softness of the light.
5. Expand Your Kit
 In addition to the essential equipment, there are other pieces of kit that can enhance your home photography studio. Consider adding the following:
- Reflectors: Soft fabric discs that bounce light onto your subject, available in various sizes and colors.
- Tripod: An essential tool for stability and control, especially when shooting with slower shutter speeds.
- Laptop: Ideal for editing photos on the go and for tethered shooting.
- Sandbags: Use them to weigh down light stands and prevent accidents.
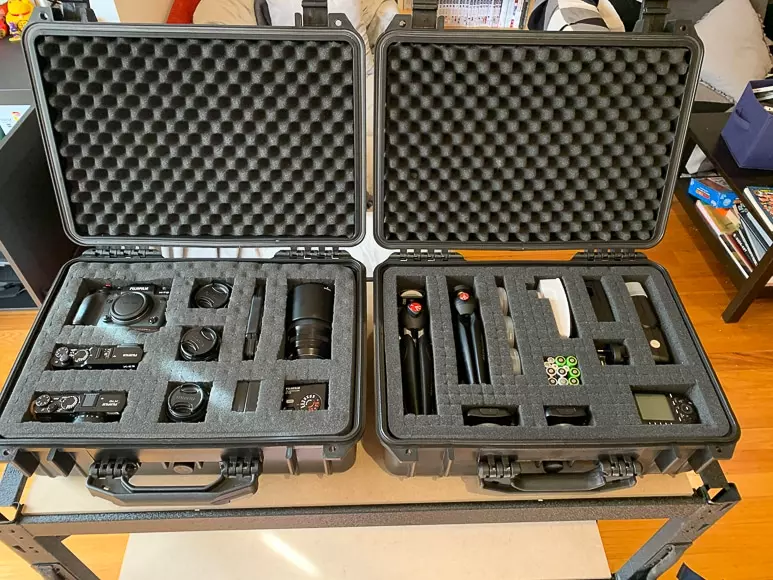
- Storage: Protect your gear by using plastic containers or purpose-built camera cases.
You can also get creative with DIY surfaces and props to add more variety to your studio shots. Experiment with different materials and textures to achieve unique effects.
7. DIY Backdrops
 Backdrops are essential for creating a clean and professional-looking background in your photos. If you don't have access to a blank or attractive wall, you can easily create your own backdrops on a budget.
A simple DIY hack is to use a bedsheet with a neutral tone as a backdrop. You can also consider using a photo blanket or a rug for a textured background. Alternatively, visit a fabric store and buy a roll of suitable material that you can roll up when not in use. Another option is to use a large roll of white paper to create a clean white background.
Remember to choose neutral colors for your backdrops, such as gray or white, to avoid distracting from the subject.
8. DIY Surfaces and Props
 If you're shooting product images, you can get creative with DIY surfaces and props. Use black, white, or colored card from a craft store as backdrops. Check out hardware stores for sample tiles and floorboards, which can add interesting textures to your shots. Look for or create props using inexpensive materials to add a unique touch to your images.
Remember, a home photography studio doesn't have to be a big, expensive project. Taking small steps to set up your studio can make the journey more enjoyable, especially when you incorporate some fun DIY projects.
Final Thoughts
Setting up a home photography studio is a great option for both professionals and enthusiasts. You don't need a huge budget or a dedicated space to create stunning images. By optimizing your existing space, investing in essential equipment, and adding your personal touch, you can create a studio that suits your needs and style.
So, what are you waiting for? Start your home photography studio project today and unleash your creativity. Share your experiences, ask questions, and comment on this topic. Happy shooting in your photo studio!


