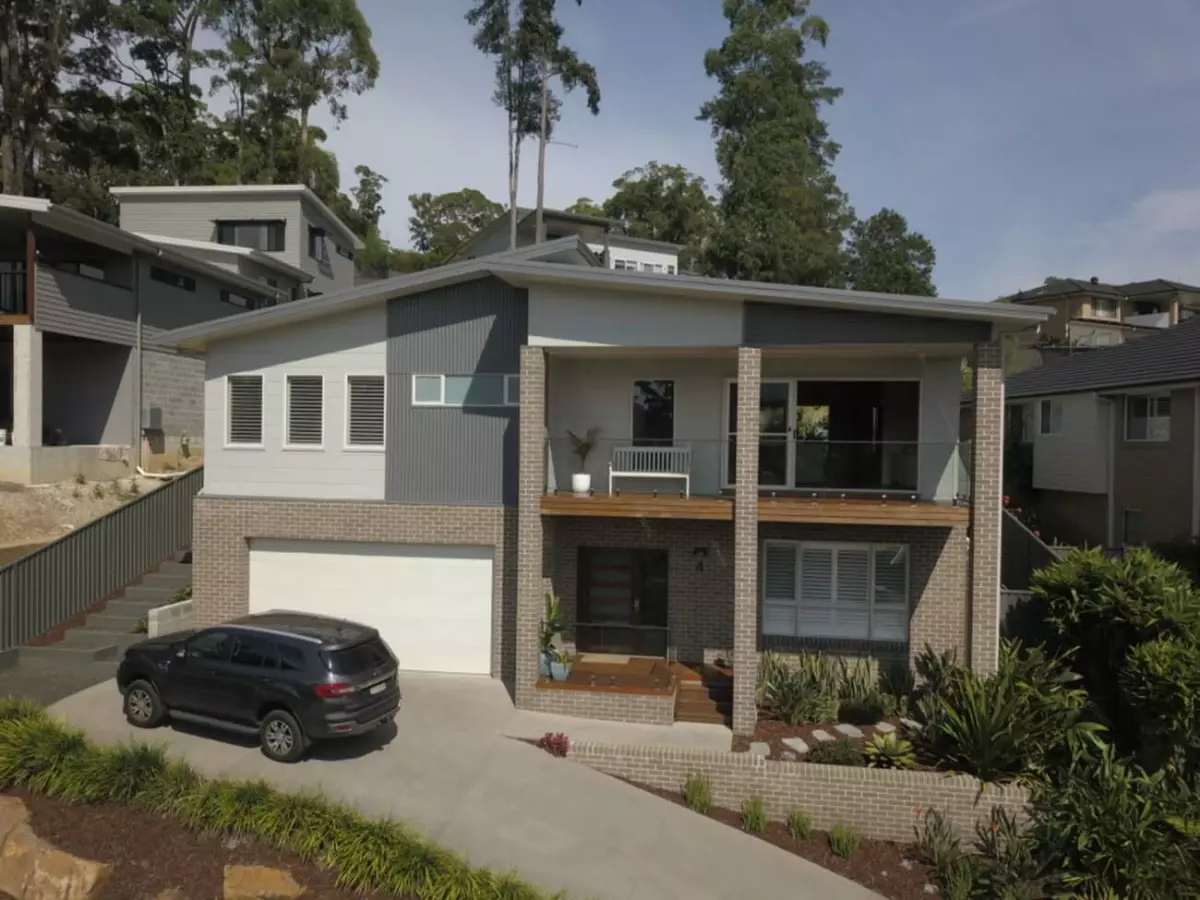
What is the first thing that catches someone's eye when they see a real estate listing? More often than not, it's the exterior photo of the property. As a professional real estate photographer, it is crucial to capture high-quality exterior shots that grab attention and make potential buyers want to explore further.
1. Prepare the property for the shoot
Before you start shooting, ensure that the property is ready. Collaborate with the realtor or property owner to tidy up the yard, move any cars, and remove unflattering objects like garbage bins. Just like you would comb your hair before a portrait, the property should look its best for the photoshoot.
2. Consider the position of the sun
Think about the direction the house faces and the time of day you will be shooting. Aim to schedule the shoot when the sun illuminates the house perfectly. Shoot during the time of day when the light is softest, either at the beginning or end of your session. Avoid shooting at noon when harsh highlights and shadows can distort the exterior. On overcast days, embrace the diffused light that eliminates shadows and provides even lighting. Remember, you can always add a blue sky during post-processing.
3. Capture dusk or early-evening shots
Properties often come alive during sunset. Turn on all exterior and interior lights at dusk to create a warm and inviting atmosphere. Match the brightness of the property's lights with that of the sky. Offering dusk shots as an additional option can enhance your service and showcase the property at different times of the day.
4. Explore different angles
Don't be afraid to get creative! Once you have your "safe shot," experiment with shooting the house from different angles to find the most flattering side. Offering unique perspectives in your exterior shots will set your work apart from other real estate photographers.
5. Utilize a tripod and timer
To ensure sharp and professional results, mount your camera on a tripod and use the timer function. This eliminates camera shake, which can lead to blurry photos. A tripod is particularly essential for long exposure times, such as capturing low-light dusk shots.
6. Maintain a straight horizon
Use your viewfinder alignment grid to ensure that horizontal and vertical lines are level. If the lines appear tilted, the property will appear distorted and off-balance in the photo. However, if you're experimenting with creative shots, don't worry too much about the horizon alignment, as perspective can be corrected during post-production.
7. Highlight the details
Does the property have unique architectural elements? Is there a pool or beautiful landscaping? Capture these details that give each property its distinct personality. These features are often key selling points for real estate agents, so take the time to showcase them in your photos.
8. Consider aerial shots with a drone
Using a drone to photograph the property from above can provide a captivating perspective. Aerial views help potential buyers visualize the layout and surrounding area. However, it's important to be aware of local regulations and obtain the necessary permits or licenses for commercial drone use.
9. Review and retouch
In the digital age, photo editing is essential to produce the best possible image. Remove blemishes, eliminate unwanted reflections, enhance colors, and adjust contrast to create a polished final result. Photo editing can make the difference between a good image and a truly remarkable one.
Remember, beautiful and realistic exterior photos leave a lasting impression on potential buyers and realtors. By capturing stunning images, you can sell homes faster, attract more clients, and receive valuable referrals. Don't let post-processing become a daunting task. If you find yourself spending too much time editing, let PhotoUp support you, allowing you to focus on shooting, spend time with loved ones, and grow your business.
 Before: Original Photo


